
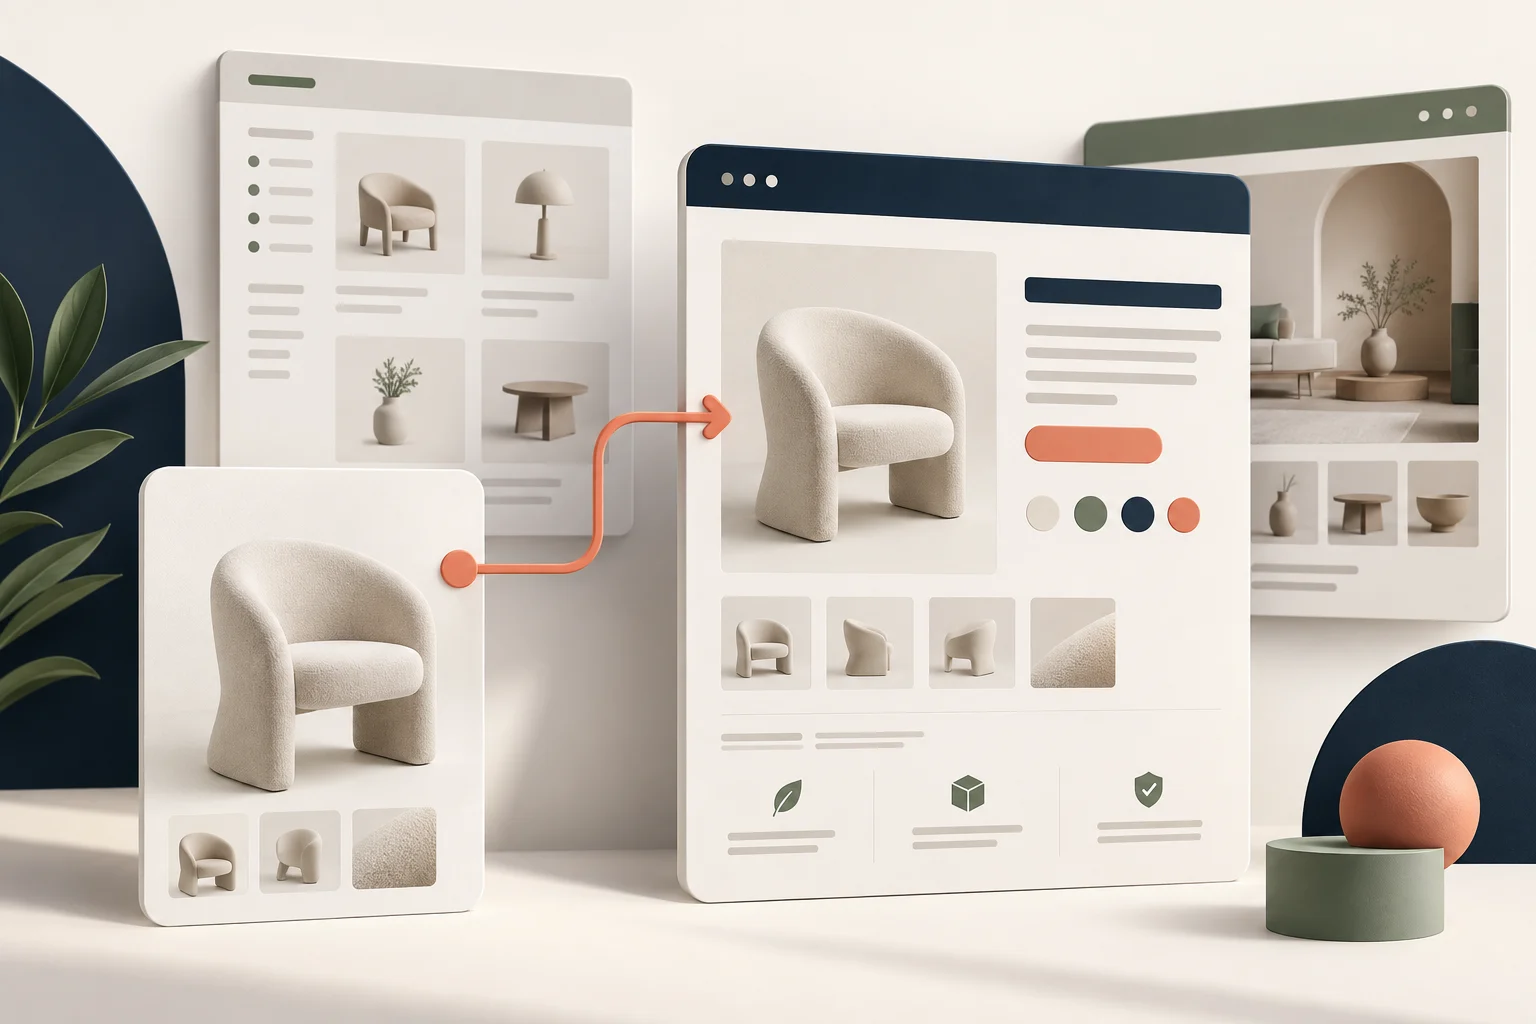
StoreBuilt reviewed Shopify’s template documentation against our existing product-page troubleshooting guides for this article. The recurring conceptual trap is clear in the platform workflow: selecting a product for preview is different from assigning a template to that product. A convincing editor preview can therefore coexist with a completely unchanged public product page.
A Shopify product template not showing is often an assignment or theme-context problem before it is a design problem. For UK ecommerce teams preparing a range launch, the fastest useful diagnosis is to identify the product, its assigned template and the theme that contains that template. Keep those three facts separate while working through the guide.
Contact StoreBuilt with the product URL and the intended layout for a targeted template review.
Table of contents
- Separate the three parts of the page
- Check the published theme first
- Confirm assignment rather than preview
- Protect products sharing the layout
- Investigate missing sections and empty content
- Walk through a furniture launch
- Verify the public buying journey
- Keep the template library maintainable
- StoreBuilt point of view
Separate the three parts of the page
Start with the resource: the actual product record and its public URL. Next identify the layout assigned to it. Finally identify the theme that provides that layout. A product title appearing in the editor proves which item is being previewed, but it does not establish every other part of this relationship.
Write these values in the issue report using the labels visible in the admin. Avoid referring only to the new template or the furniture page when several people are editing similar layouts. Exact names make it possible to compare the same state before and after a change.
Shopify’s template guidance explains how templates are applied to resources. Use that documentation as the platform reference, then verify the store’s particular assignment rather than assuming that creating a layout completes the job.
| Part of the setup | Question to answer | Common misunderstanding |
|---|---|---|
| Product record | which item is affected? | similar titles mean the same product |
| Template assignment | which layout is selected? | preview selection equals assignment |
| Theme | which theme contains the layout? | draft and published themes are identical |
| Section configuration | which blocks are present? | all templates share the same sections |
| Product content | what information is available? | a layout creates missing product facts |
This simple record also helps distinguish one broken product from a template-wide issue. If several affected products share the same assignment, investigate that shared path before editing each product independently.
Check the published theme first
Confirm the theme currently serving visitors. Teams often build a new template in a draft while the public store continues using another theme. That is a useful development workflow, but it creates two different contexts that must not be confused during acceptance.
Shopify’s assignment options depend on the templates available in the current published theme. If the new layout exists only in a draft, its absence from a product’s assignment list may be expected. Do not publish an unfinished theme simply to make a dropdown option appear.
Instead, plan how the template and its dependencies will reach the intended release theme. A developer should review any supporting sections, styling and app blocks rather than copying only a name. A matching template label without the required implementation is not a complete release.
Confirm assignment rather than preview
The editor needs an example product to show how a layout looks. Selecting that example changes the preview context, not necessarily the product’s saved assignment. Check the actual product admin, save the intended assignment when appropriate and then reopen the public URL separately.
Keep a control product on the ordinary layout. It gives the review a clear comparison: the target receives the specialised structure while the control retains the standard presentation. Without a control, a change applied too broadly can look like success because the target page improved.
If the store has many similar items, start with one representative product before using any bulk assignment workflow. Verify the outcome and record the intended product group. A correct individual selection is easier to inspect than a large mistaken assignment that requires reconstructing the previous state.
Protect products sharing the layout
A template is reusable. If several products use it, changing a shared section can affect all of them. Before adding a banner, instruction or product-specific statement, establish whether that content belongs to the layout or to the individual product.
For example, an assembly section might belong on all furniture products using a specialised layout, while a particular chair’s dimensions belong to that chair. The content model should preserve that distinction. Do not paste one product’s specifications into shared static content and assume the editor’s preview selection limits where they appear.
When the layout itself is genuinely different, a separate template may be appropriate. When only the facts differ, use the store’s established product-content workflow. Our furniture measurement guide covers how to make those facts useful to shoppers once the correct page structure is in place.
Investigate missing sections and empty content
If the expected template is assigned but a section is absent, check the configuration inside that exact template. A similar-looking section in another layout does not establish that it exists here. Confirm visibility settings and whether the relevant app or content source is available in the theme being reviewed.
Next distinguish an empty source from a rendering failure. A section may have nothing to display because the product lacks the required information. Compare a product with complete content against one without it, and decide what the empty state should be rather than leaving a confusing blank heading.
Avoid adding duplicate fallback content merely to make the preview look populated. That can hide the underlying source problem and create conflicting facts later. The acceptance requirement should describe where the information comes from and how the page behaves when it is missing.
Walk through a furniture launch
Consider an illustrative retailer preparing a chair range with an expanded measurements and delivery layout. The editor shows the chair perfectly, but the public product still uses the standard presentation. The merchandising team begins rebuilding the section, assuming the first version was not saved.
The diagnosis first identifies the draft theme containing the layout, then checks the chair’s assignment in the published context. It also checks whether other furniture products are intended to share the layout. This prevents a local preview problem from becoming an unnecessary site-wide design change.
The release plan brings the complete template into the intended theme, assigns the correct products and verifies a chair plus an ordinary accessory as a control. This is an illustrative workflow, not a description of a client launch or evidence of improved sales.
Verify the public buying journey
Open the product as a public visitor in a fresh session. Confirm the intended layout, real product content and any conditional sections. Then change an option and add the item to the cart. A correct information layout is incomplete if its purchase form submits the wrong variant or loses required input.
| Acceptance case | Required result | Evidence |
|---|---|---|
| Target product | specialised layout appears | public URL and screenshot |
| Control product | standard layout remains | comparison screenshot |
| Product with incomplete content | understandable empty state | missing-content example |
| Multiple option product | selected option reaches cart | product and basket comparison |
| Phone layout | sections remain readable | mobile journey |
| Fresh visitor session | public result matches release | session context noted |
Check relevant headings, links and image descriptions as part of the same review. Moving content into a new layout should not make useful information inaccessible or turn internal links into empty controls. Keep the product accordion guide separate if the remaining issue concerns disclosure behaviour rather than assignment.
After publishing, repeat the target and control checks on the live domain. Record the final theme and product assignments so another team member can investigate later without relying on the original editor session.
Keep the template library maintainable
Name templates according to their purpose and maintain a short list of the product groups using them. Avoid names such as final-new-two that communicate editing history rather than a merchandising role. A future team member should know whether a template is for furniture, a special campaign or a different purchase requirement.
Review near-identical templates periodically, but do not remove one solely because its name looks old. Establish which resources still use it and whether a replacement preserves their required sections. Cleanup is a controlled assignment change, not just a file deletion.
For future launches, add template availability and assignment to the release checklist. That small addition can prevent teams from spending hours redesigning a page whose actual problem is that visitors never receive the intended layout.
StoreBuilt point of view
A template is only useful when the correct product receives it with the correct content and purchase behaviour. StoreBuilt would resolve theme context and assignment before redesigning sections. The most convincing proof is a public target product and an unchanged control product, both working as intended.
Explore Shopify design and development or Contact StoreBuilt to connect your intended product layout to a reliable release.