
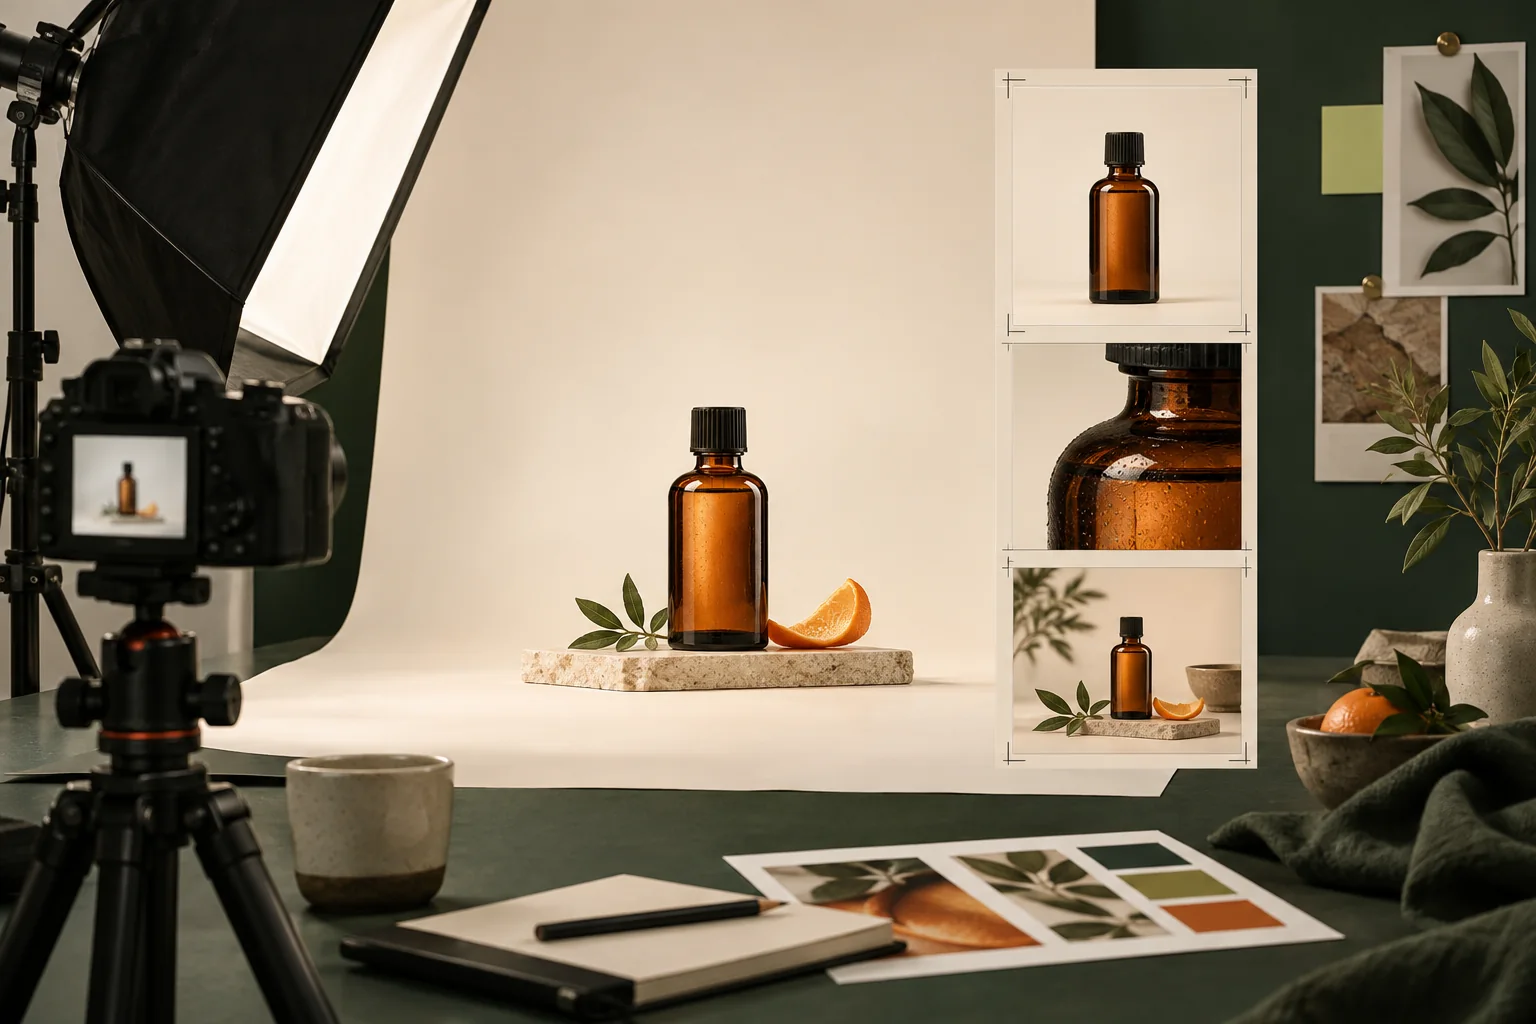
StoreBuilt’s review of product-media guidance starts with the destination of the image: the Shopify theme that will display it. A beautiful photograph can still be difficult to use if its crop removes the product, its file name hides the variant or the team cannot identify which version is approved. Our implementation brief connects the shoot to the storefront before production begins.
An ecommerce photography brief should give a photographer enough information to quote, plan and deliver usable work. For UK Shopify teams, that means more than a mood board. It means a product register, a shot list, realistic crop requirements and a clear handover. This guide focuses on commissioning the work; our product media system guide covers the wider mix of images, video and buying evidence.
In this guide
- Start with the actual theme placements
- Build a product and sample register
- Turn the brief into a shot schedule
- Agree editing and delivery requirements
- An illustrative skincare shoot
- Approve a pilot inside Shopify
- Make handover easy to validate
- Plan for replacements and future shoots
- StoreBuilt point of view
Start with the actual theme placements
Take screenshots of the places the photographs will appear: collection cards, the product gallery, a homepage promotion and any relevant campaign page. Capture desktop and mobile. Note whether each placement crops the image, preserves its original shape or changes proportion between screen sizes. Use the current theme or an agreed prototype, not an unrelated inspirational store.
Describe the purpose of each placement. A collection card may need a recognisable product silhouette at a small size. A gallery detail may need enough resolution to inspect a finish. A campaign banner may require negative space for separately rendered text. One image can serve several purposes, but that should be a deliberate decision rather than a last-minute crop.
Do not put a universal pixel size into the brief without checking the implementation. Shopify supports several product media types, and the actual theme presentation affects what customers see. Agree useful master files and the necessary delivery versions with the people managing the storefront.
Build a product and sample register
List every product and variant being photographed, with a stable identifier the ecommerce team already understands. Include the sample location, arrival date and person responsible for preparing it. Mark products whose packaging or finish is about to change. Photographing an obsolete sample can create more work than postponing that item until the correct one arrives.
Record what is included in the sale. Props, chargers, stands and accessories can make an image attractive while creating a false impression about the offer. The brief should tell the photographer which items are sold together and which are purely contextual. The product specialist should review that distinction before the shoot.
Choose representative difficult items for the pilot: a reflective surface, a pale product on a pale background, a tall pack or a small variant difference. Resolving those cases early gives the production team a repeatable approach. Leaving them until the last hour of a large shoot turns predictable complexity into a rushed exception.
Turn the brief into a shot schedule
Shopify’s photography workflow guide recommends planning products, variations, angles and destinations before the shoot. Build on that by giving every required image a row in the schedule. The row should connect the product identifier, intended placement, view and acceptance owner.
A shot schedule is not a demand for the same number of photographs for every product. A simple sealed item and a multi-part kit need different evidence. Specify the coverage that the offer requires, then ask the photographer to flag production dependencies. Grouping similar setups can reduce repeated lighting and styling work without removing important product-specific detail.
| Shot requirement | Briefing detail | Storefront check |
|---|---|---|
| Collection image | Recognisable product with agreed crop margin | Product remains identifiable at card size |
| Main gallery image | Accurate offer and consistent framing | First image matches selected product |
| Detail view | Specific finish, connector or feature | Detail is visible at useful magnification |
| Included contents | Exact components supplied together | No optional accessory appears included |
| Context image | Approved setting and realistic scale | Composition works in the intended placement |
| Variant coverage | Which differences need separate capture | Files map to the correct option |
Shopify’s product photography guidance covers practical capture considerations such as lighting and white balance. Use it as a starting point, then let the photographer propose the appropriate method for your products. The ecommerce brief should define the required result without pretending every category needs identical equipment or lighting.
Agree editing and delivery requirements
Define what retouching may change. Dust removal and exposure adjustment are different from changing a product’s shape, finish or included components. Ask for a review route when an edit could alter a buying-relevant fact. Colour accuracy needs an agreed process and realistic expectations; it cannot be guaranteed on every customer’s uncalibrated screen.
Specify whether you need high-resolution masters, web-ready derivatives, transparent versions or alternative crops. Ask for a file inventory that identifies the product, variant, view and version. A folder of files named “final-final-2” leaves the upload team guessing and makes future replacement work unnecessarily risky.
Agree usage rights, permitted channels, revision rounds, approval deadlines and responsibility for reshoots in the commissioning agreement. Get appropriate advice if the rights arrangement is unclear. This is a production brief, not legal advice. StoreBuilt’s role is to make the images usable in the Shopify implementation; the photography agreement should make the permitted use equally clear.
An illustrative skincare shoot
Imagine a UK skincare retailer commissioning photographs for six products. Its new theme uses square collection cards but a taller product gallery. The original mood board contains tightly framed portraits of bottles. Those portraits look good in isolation, yet the square card crop removes the top of the tallest pack.
The team tests one product before approving the full shoot. It agrees extra breathing room in the master capture and a separate approved card crop. It also adds variant identifiers to the delivery register so the upload team can distinguish similar labels. This is an illustrative production example, not a reported client result or a claim about conversion uplift.
The decision is made before all six products are photographed. That timing matters. A theme preview can reveal a production requirement while it is still easy to adjust the setup, rather than after the photographer has returned every sample and dismantled the studio.
Approve a pilot inside Shopify
Upload the pilot images to a safe preview and inspect the actual components. Check the collection card, gallery, variant changes and zoom behaviour if the theme supports it. Look at a normal phone width as well as a desktop monitor. A contact sheet cannot show whether a card overlay or crop setting hides an important detail.
Ask the product owner to assess accuracy and the ecommerce owner to assess usability. Give consolidated feedback rather than sending contradictory requests from several people. Record which file and crop were approved. If the team changes the theme’s aspect ratio later, treat that as a new dependency rather than a photography failure.
Check loading behaviour using the web implementation, not just the source file size. Preserve useful detail while avoiding oversized delivery assets. The appropriate export depends on the image and its placement. Do not replace every file with an aggressively compressed version merely to reach a single arbitrary size target.
Make handover easy to validate
Require a manifest or clear file register alongside the assets. Compare the delivered set with the approved shot schedule before uploading the entire batch. Missing shots and incorrect variant names are easier to resolve while the production context is still fresh. Keep originals separate from approved storefront versions.
| Handover check | Passing condition | Action if it fails |
|---|---|---|
| Product identity | File maps to an agreed product and variant | Return for identification |
| Coverage | Required views are present | Resolve missing shots |
| Accuracy | Product and included contents match the offer | Product-owner review |
| Crop | Important details survive actual theme placement | Revise derivative or framing |
| Image quality | Detail is useful without obvious artefacts | Adjust export or retouching |
| Approval record | Final version and owner are documented | Hold publication until resolved |
Write image descriptions during upload with the actual image and page context in view. Avoid stuffing search keywords into alt text or describing details that are not visible. A well-organised delivery register supports accessibility work, but it does not replace that editorial judgement.
Plan for replacements and future shoots
Save the approved framing, background and lighting references with the production brief. When one new variant arrives, the team should be able to reproduce the relevant visual treatment without rebuilding the brief from memory. Record exceptions where a product needed a different setup and explain why.
Review image-related support questions and merchandising feedback after publication. If customers repeatedly misunderstand what is included, update the shot requirement rather than simply adding more decorative images. Our Shopify design and development service can help connect future creative production with the theme components that use it.
StoreBuilt point of view
A useful photography brief ends with files the ecommerce team can identify, approve and publish confidently. The strongest cost saving often comes from making the right decision before the shoot: where the image will live, what it must show and who decides it is ready. Beautiful photography deserves an equally clear handover.